Okay - now before you all freak, please realize that this is SO much easier than it sounds.
The rye bread is so easy, you're going to be surprised. It does take some forethought, though. The pastrami is a little more complicated, requires more time, but not much hands-on time.
Almost No-Knead Rye Bread
An enameled cast-iron Dutch oven with a tight-fitting lid yields best results. Use a mild-flavored lager, such as Budweiser (mild non-alcoholic lager also works). The bread is best eaten the day it is baked but can be wrapped in aluminum foil and stored in a cool, dry place for up to 2 days.
1 5/8 cups unbleached all-purpose flour (8 ounces), plus additional for dusting work surface
1 1/8 cups rye flour (7 ounces)
2 tablespoons caraway seeds
¼ teaspoon instant or rapid-rise yeast
1½ teaspoons table salt
¾ cup plus 2 tablespoons water (7 ounces), at room temperature
¼ cup plus 2 tablespoons mild-flavored lager (3 ounces)
1 tablespoon white vinegar
1. Whisk flours, caraway, yeast, and salt in large bowl. Add water, beer, and vinegar. Using rubber spatula, fold mixture, scraping up dry flour from bottom of bowl until shaggy ball forms. Cover bowl with plastic wrap and let sit at room temperature for 8 to 18 hours.
2. Lay 12- by 18-inch sheet of parchment paper inside 10-inch skillet and spray with nonstick cooking spray. Transfer dough to lightly floured work surface and knead 10 to 15 times. Shape dough into ball by pulling edges into middle. Transfer dough, seam-side down, to parchment-lined skillet and spray surface of dough with nonstick cooking spray. Cover loosely with plastic wrap and let rise at room temperature until dough has doubled in size and does not readily spring back when poked with finger, about 2 hours.
3. About 30 minutes before baking, adjust oven rack to lowest position, place 6- to 8-quart heavy-bottomed Dutch oven (with lid) on rack, and heat oven to 500 degrees. Lightly flour top of dough and, using razor blade or sharp knife, make one 6-inch-long, 1/2-inch-deep slit along top of dough. Carefully remove pot from oven and remove lid. Pick up dough by lifting parchment overhang and lower into pot (let any excess parchment hang over pot edge). Cover pot and place in oven. Reduce oven temperature to 425 degrees and bake covered for 30 minutes. Remove lid and continue to bake until loaf is deep brown and instant-read thermometer inserted into center registers 210 degrees, 20 to 30 minutes longer. Carefully remove bread from pot; transfer to wire rack and cool to room temperature, about 2 hours.
PASTRAMI
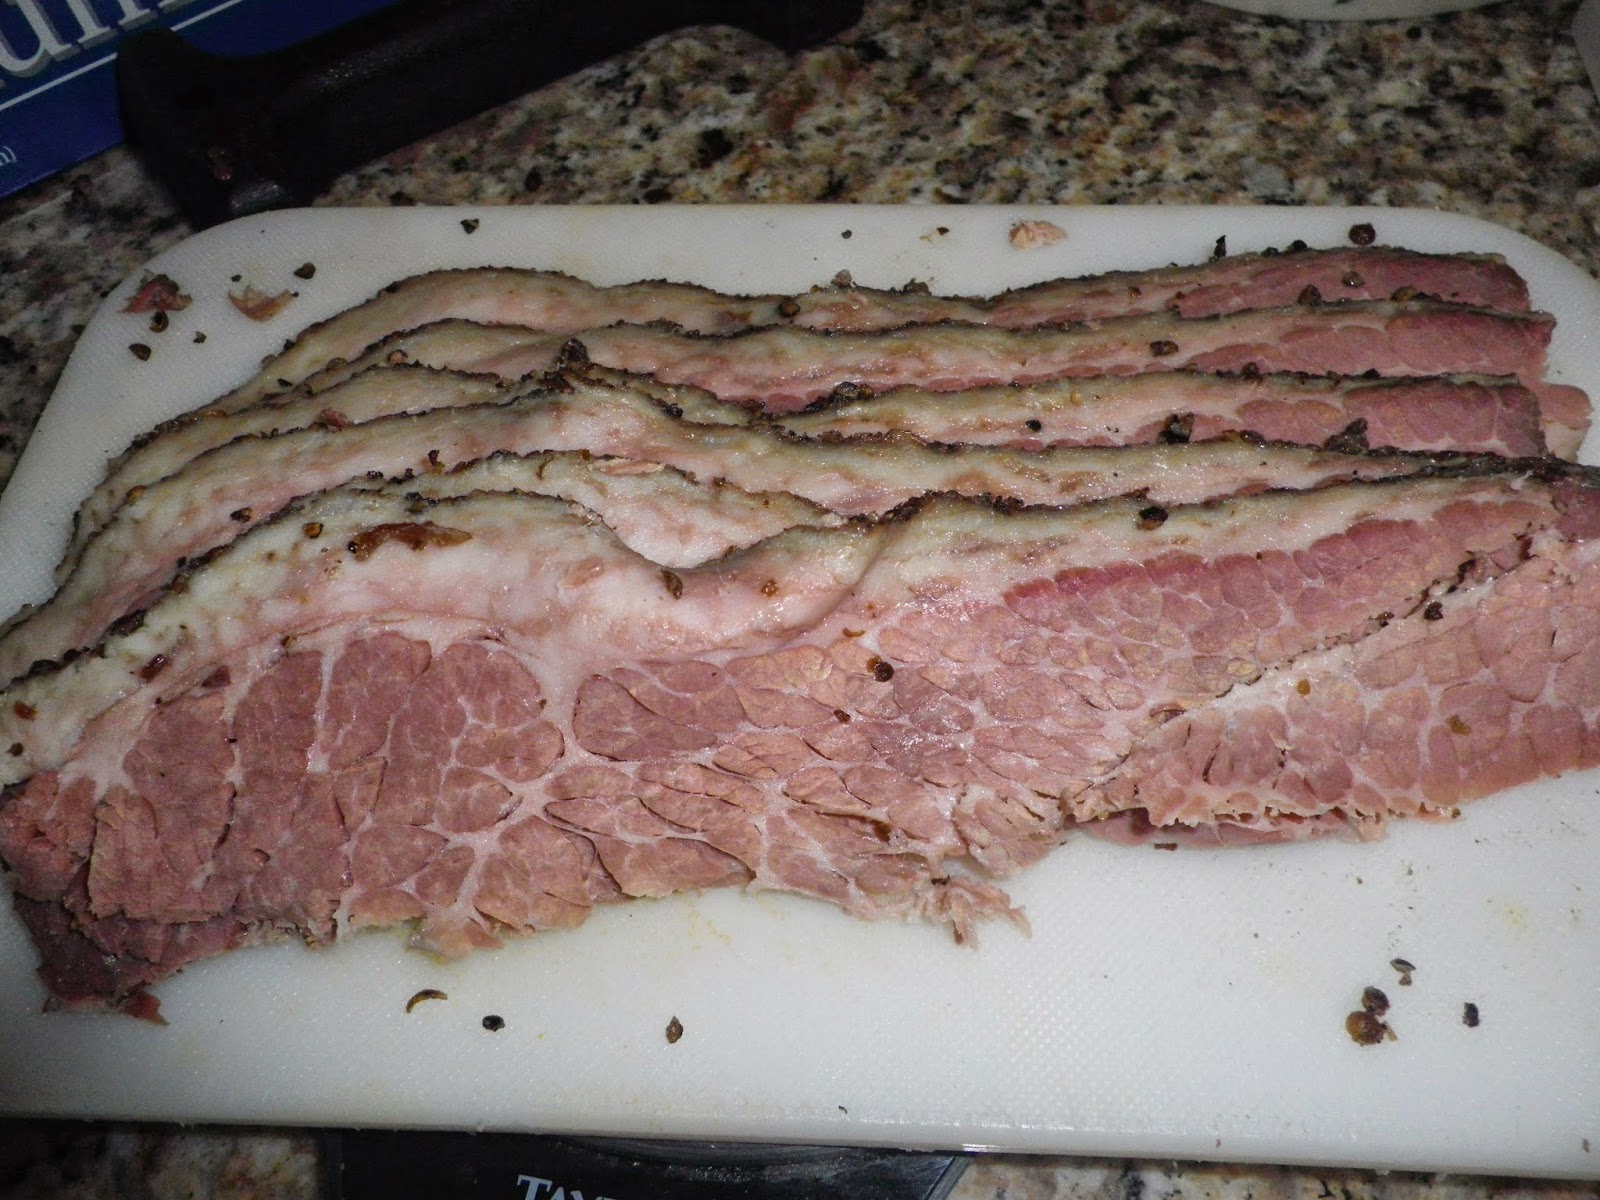 |
| A later batch with a bit more fat |
This is a LOT less specific, so just be patient with me. The recipes call for brisket. I wasn't so pleased with it - it was quite lean. If that's what you're looking for in a pastrami, then that's perfect, but I was looking for something with a bit more fat. The spices are going to be very personalized, so I suggest you follow the recipe the first time, then play with it. This recipe and technique came from the forums at E-Gullet.
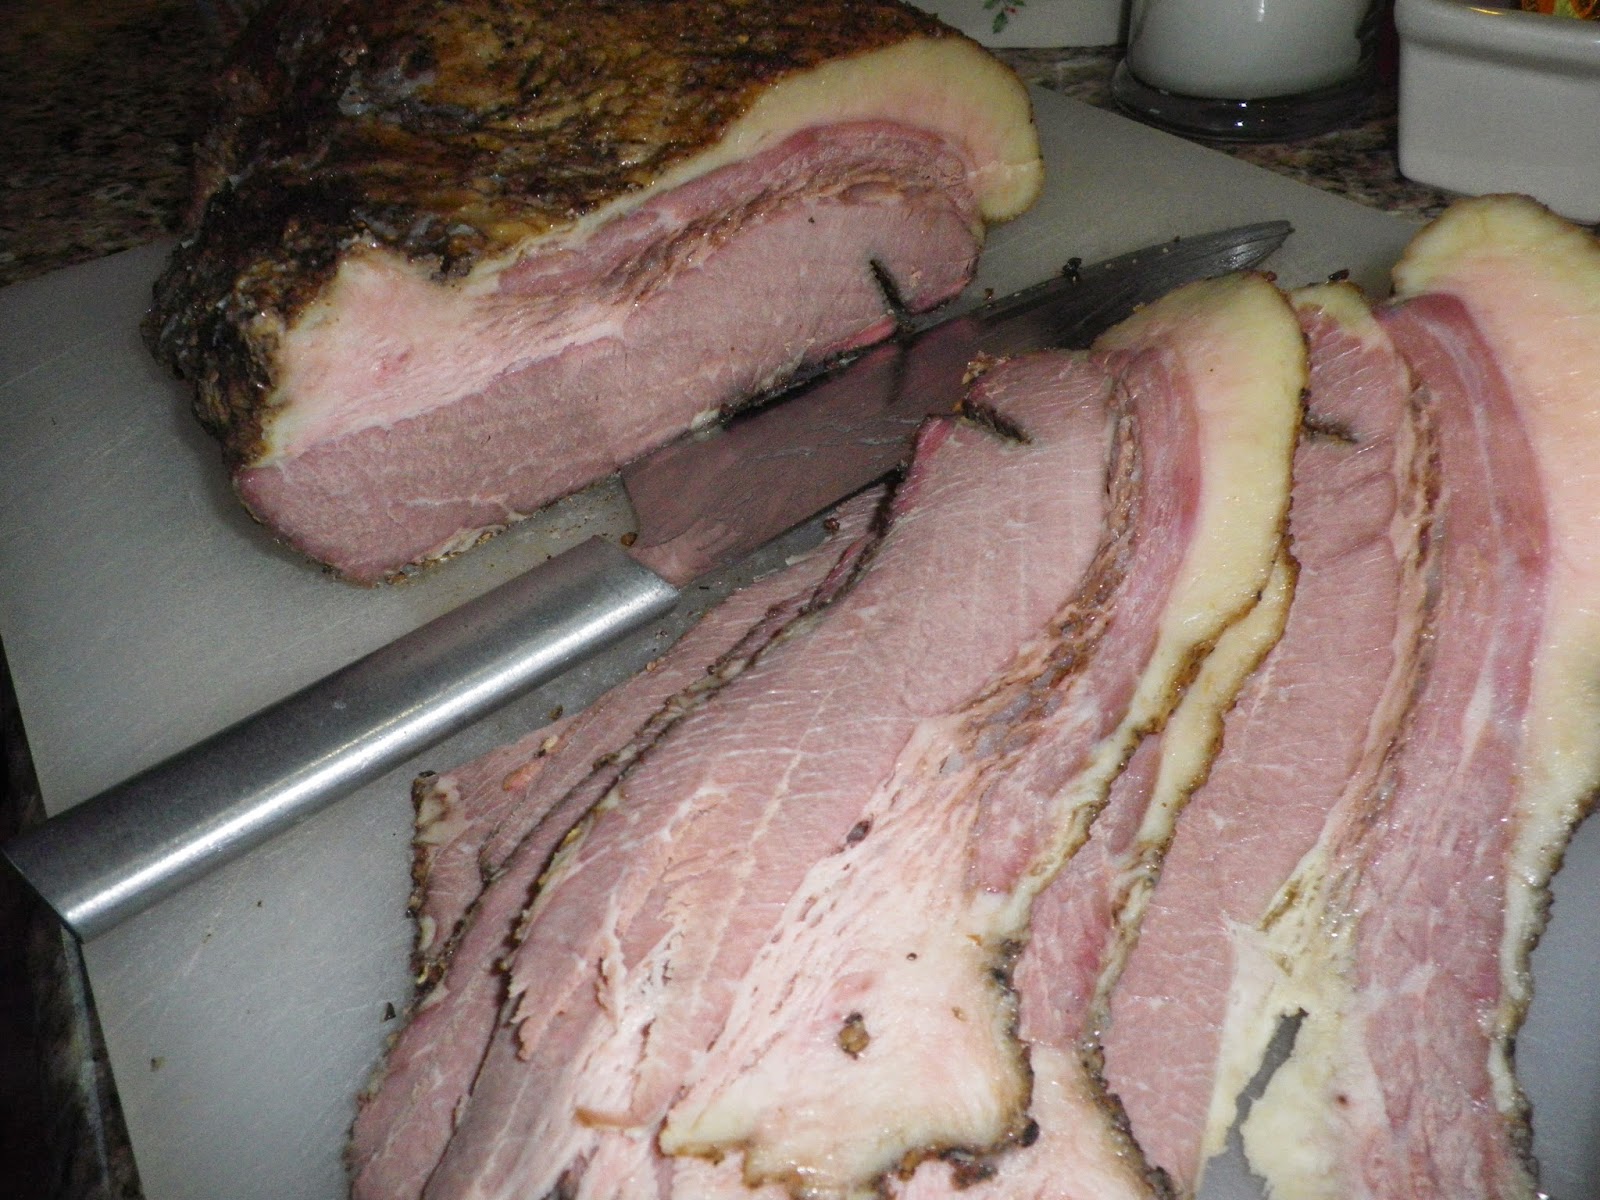 |
| A later batch with a bit more fat |
You must have saltpeter or Tender Quick (by Morton) in order to cure it. This recipe is for a 7 lb piece of meat, so you'll have to play with the amount of spices depending on how big your piece of beef is. The amount of Tender Quick is not up for debate. Use the amount specified on the package.
3lbs coarse kosher salt
2lbs peppercorns
½lbs sugar
½lbs coriander seeds
3 Tbs whole cloves
10 whole bay laurel leaves
2 Tbs saltpeter or Tender Quick amount specified on package
Grind all these spices in a coffee grinder. Rub the meat with raw garlic, then coat with this combination of spices. Put in a container and refrigerate for three days, turning every 12 hours. (Mine was turned every day - who can remember every 12 hrs?? - and was in the fridge for about 5 days). Rinse well, then soak in cold water for 3 hours, changing the water every 1/2 hour. (Again - I think I remembered every hour, then it soaked for a day in the water because my day got away from me). Coat with a combination of 2 parts peppercorns & 1 part coriander seeds (cracked/ground), and refrigerate overnight. Smoke for one - five hours, or until the internal temperature is 165F (Seriously - who has a smoker? I grilled it on low!). Stick in a container in the fridge for one day. Steam the meat (the whole thing) for one - three hours, or until warm all the way through. Put back in the fridge for a day. Slice thinly, across the grain, and steam to rewarm. Serve on your yummy rye bread. And a beer. <tee hee>
